

Broken Hearing Aid Tubing? Here’s What You Should Know
Dec 1st 2021
Before we dive into what you should do when you have a broken hearing aid tubing, how to take better care of it, and other questions you might have, let’s talk about the basics first to get a better understanding of how the whole thing works and the common issues people have with it.
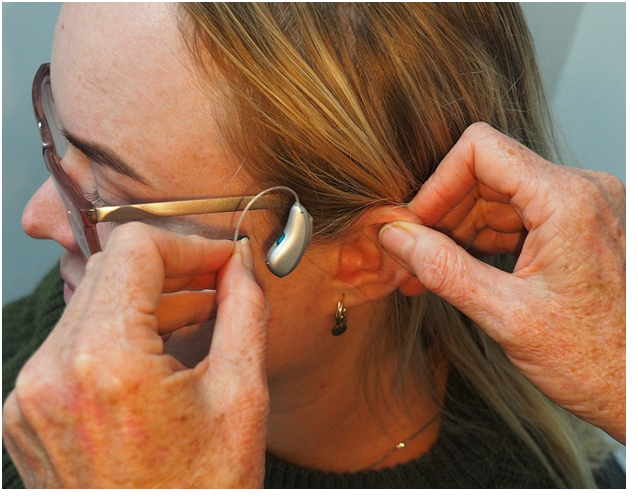
So first, there are basically two types of hearing aids: in-the-ear (ITE) hearing aids and behind-the-ear (BTE) hearing aids.
If you’re here because you suspect a problem with your tube, you have the BTE kind, because obviously, ITE hearing aids have no external wires or tubes coming out of the main component.
The purpose of this wire is to transmit the power and signals from the main component to the speaker or receiver you put inside your ear.
In other words, it acts as a messenger, delivering messages to you from the sounds picked up by the main component that houses the microphone.
So if the tubing is broken, the whole system kind of fails and you either hear just snippets of sounds or nothing at all.
If that happens, here’s what you should do.
Hearing Aid Tubing Quick Fixes
If you’re getting distorted sounds or no sounds at all, you can do four things:
●Check the battery
If you don’t have a battery tester, you can check the battery by taking it out and reinserting it. As soon as you close the battery door, hold the hearing aid close to your ear, if there is a screeching sound, the battery is still okay.
You should actually check the battery often even if you’re not experiencing any problem. It’s wise to invest in a battery tester as aside from making sure the battery is working fine, there are many benefits to checking often with a tester.
●Adjust the settings
Your hearing aid probably has an automatic volume control but you can still adjust the volume manually. Look for a button or switch and raise the lever up to increase the volume and push it down to decrease it.
●Clean the tube
Your hearing aid tubing should be regularly cleaned. If there is a discoloration in the tubing and you're sure it's not from your hair dye or perhaps makeup, it's a sign that there is moisture trapped in it. This is normal as sweat can make its way through the tubes.
Ideally, you should clean the tubbing every time you take it off. You should have a hearing aid cleaning brush and a wax pick or wire loop.
Here's how to clean it:
1.Remove the battery
2.Remove the tubing. Check your manual for the kind of tubing you have. A threaded style is removed by rotating the base counterclockwise until it slides off the main component.
A snap-on tubing is also removed by rotating counterclockwise, except there's a little resistance when you rotate it. Still, it should come right off after turning it 90 degrees.
3.Insert the wire tool through the tubing starting from the end that connects to the main component. Loop it through until it comes out of the other end.
Brush off any dust and wipe clean. Do not use chemicals or alcohol in cleaning the tubes and the hearing aid itself.
●Check for cracks
Examine the tubing carefully and if you see any crack, even it’s just a hairline crack, it’s time to replace it.
To replace it, you remove it the same way you do when you clean it. If you are unsure how to do it, get it to an audiologist who can help you fix it and check for other problems as well.
How Often Should You Replace the Tubing?
It’s best to replace your tubing every four to six months.
Over time, the tube gets worn out and damaged by the moisture that gets trapped inside. The moisture can harden and crack the tubing, which is why it’s important to clean the tubing every after use.
Often, you’ll think your hearing aid is broken but in reality, the problem lies in the tubing. The solution is either replacement or cleaning and better care. Check out below how you can take good care of your hearing aid.
Care for Hearing Aids
●Clean your hearing aid regularly and aim to do it every day
●Turn your hearing aid off when not in use
●Keep it in a cool, dry place
●Take your hearing aid off when you are applying hair products to your hair
|
●Avoid dropping your hearing aid
●Open the battery door at night to allow moisture to escape and avoid eroding the battery
●Remove the battery if you're not going to use your hearing aid for a long time
●Replace dead batteries immediately. Here’s a helpful article on how to figure out the right battery for your hearing aid.
If you need more information about hearing aid batteries and you have questions about hearing aid accessories like battery testers and hearing aid tubing cleaning tools, get in touch with us at sales@localbattery.com and our representative would be happy to assist you.
